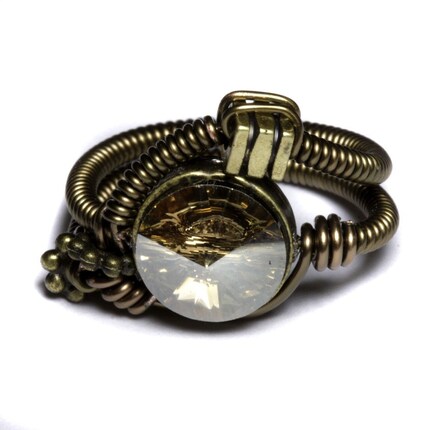
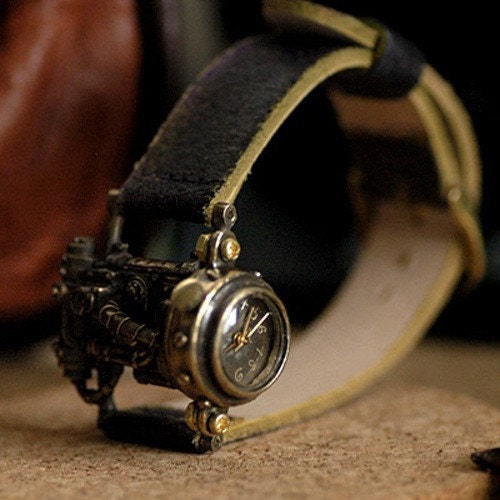
We haven't made any major changes to the body of the guitar yet, but the cosmetic changes we've made have made the guitar a bit more interesting already. The cool thing is, most of the things we've done here can be repeated on your own guitar to give it a one-of-a-kind appearance. All you need is a little creativity and imagination.
The main thing we used were copper washers and wire, available at any hardware store. While you're there, look around and see if anything else catches your eye. There are so many different items on the shelves that can be altered (or even used as-is) to create a cool custom look. Super glue works great, especially for metal-on-metal gluing, and I think the brand we used was Gorilla glue. (BTW, please don't hurt yourself while attempting this, beware of sharp metal edges, etc.; customize at your own risk, both to yourself and to your guitar.)
If you want to use sheet metal, your hardware store may carry copper flashing with the roofing materials, or you can check your local craft store (we found the gears used here in the scrap-booking section, believe it or not). You can also use a cheap method Dale has previously used (with varied success) to create a new pick guard: buy an aluminum For Sale or Beware of Dog sign, turn it over and draw your design on the back, and carefully cut it out. Use your existing pick guard as a guide for drilling the screw holes, and sand it with a fine grit sandpaper to prevent getting cut by sharp edges.
Another idea is to visit a thrift store and look for interesting metal button pins (such as those with band names on them, skulls, or other cool graphics) or magnets. You can remove the pin from the back and glue them to your guitar, or use them to line your guitar strap. Or, send me a convo on Etsy if you'd like to purchase a disc with a custom phrase or name on it. Girls, look through your jewelry box for costume jewelry that you no longer wear, and see if anything could be used to give your guitar a little bling. The possibilities are endless!
So, back to the current project. Here is a stock photo of the guitar Dale wanted to steam, it's a Peavey PXD Void III that he has owned for about a year. You can find the instrument details on the Peavey website.


The next thing Dale did was remove the volume knobs and place copper washers underneath. I also wrapped copper wire around the tremolo.

Next, Dale removed the black washers under the tuning pegs and replaced them with copper ones. Since this was to be a custom guitar, I wanted to remove the shiny aluminum Void III logo on the head stock and replace it with one that was more fitting. I used the logo plate as a template and cut a new one out of 22g nickel silver, giving it a brushed finish with sandpaper to match the pick guard. I stamped the letter 'D' (Dale's initial) in the center, and Dale framed it with a copper gear. Here's a before and after of the head stock:


The last thing we did to the guitar was a surprise that I made for Dale. He loves the look of iron crosses, and has added them to several of his other guitars. So while he was out, I cut an iron cross out of a 22g copper sheet with my jewelry saw and a pair of tin snips. I hand stamped the lyrics to one of his favorite songs (Cemetery Gates by Pantera) into the cross, using various fonts for a more interesting look. I hammered the edges and aged it with liver of sulfur, sanding it down for an antiqued look.

Luckily, he loved the finished product, and it took its place on the guitar, filling out a previously empty spot.
Here is the (for now) completed guitar. We are throwing around ideas to customize the actual body and make it a true Steampunk guitar, and I'll update with pictures when we make those changes, but for now it has a pretty sweet custom look that was easy and inexpensive to do. Good luck with your customizations, and feel free to leave a comment or post a picture link of your own customized guitar.