Friday, April 30, 2010

New items for sale in my store today

Just a quick update to say that I've been working my butt off this past week, and have some new items in my store. Here are a few pics, and you can click on them for a link to their store listing:


I also made a double wrap leather bracelet for my sister that I have been needing to make for a long time. I have these for sale in my store also:


Wednesday, April 28, 2010

She Sells Sea Shells...

I've begun to delve a little deeper into the world of metalworking, and just finished a project that I'm quite proud of. I love jewelry with moving parts and hidden secrets, and this piece has both! Using my hand tools and a sheet of copper, I created a pretty little seashell pendant that opens and closes. Hiding inside the shell is a little sterling silver "pearl."

This pendant was a little difficult to make, since it needed to open and close and I have never made anything with movement before. After drawing a clam shell template and cutting out the top piece of the shell, I used my center punch to etch lines in it to resemble the grooves in a real seashell. Next, I cut out a copper disc with my disc cutter, and used a doming block to shape it. At first, I wasn't sure how to connect the two pieces together, I just knew that it needed to open like an actual shell. So I decided to make a type of hinge by punching out a slot in the domed half, and wrapping the top piece over and through the back. This was the hardest part, getting it to wrap around loosely enough to open and close smoothly without the pieces falling apart.

Once the shell was complete, I added a copper chain and two sea-themed charms: a seahorse charm that I have been wanting to use (I love seahorses) and a little sand dollar that I made. For the pearl, I melted down a scrap piece of sterling silver into a ball. My plan was to solder the ball to the shell, but I accidentally left my torch on the ball too long and melted it. Eek! Then I noticed what a cool texture the melted silver created, so I added a bit more silver and melted it as well. Finally, I soldered another silver ball in place, and then threw the whole piece in the tumbler to polish it up. When I checked on it a while later, it was nicely polished but still had a bit of a rainbow color on the surface. I may still decide to polish it back to its original finish, but I thought the sheen made it look more realistic so I decided to leave it for now.

I had a lot of fun making this seashell pendant, especially it helped me to break out of my own shell and realize that I can make more than just flat stamped pendants if I put my mind to it. I plan on making one or two more to sell in my shop, so keep an eye out for it in the next couple of weeks.

Here are some pictures of the finished piece:


Tuesday, April 20, 2010

Customizing Your Guitar - cheap and easy ideas

As you may know from a previous post, I am in love with all things Steampunk. My husband Dale is a musician, and he fell in love with the style when I showed him various guitars online that had been steampunked. He has several guitars in his collection, and has wanted to steam one of them for a long while now. So we've been keeping an eye out for parts, and began the first phase of customization a few days ago.

We haven't made any major changes to the body of the guitar yet, but the cosmetic changes we've made have made the guitar a bit more interesting already. The cool thing is, most of the things we've done here can be repeated on your own guitar to give it a one-of-a-kind appearance. All you need is a little creativity and imagination.

The main thing we used were copper washers and wire, available at any hardware store. While you're there, look around and see if anything else catches your eye. There are so many different items on the shelves that can be altered (or even used as-is) to create a cool custom look. Super glue works great, especially for metal-on-metal gluing, and I think the brand we used was Gorilla glue. (BTW, please don't hurt yourself while attempting this, beware of sharp metal edges, etc.; customize at your own risk, both to yourself and to your guitar.)

If you want to use sheet metal, your hardware store may carry copper flashing with the roofing materials, or you can check your local craft store (we found the gears used here in the scrap-booking section, believe it or not). You can also use a cheap method Dale has previously used (with varied success) to create a new pick guard: buy an aluminum For Sale or Beware of Dog sign, turn it over and draw your design on the back, and carefully cut it out. Use your existing pick guard as a guide for drilling the screw holes, and sand it with a fine grit sandpaper to prevent getting cut by sharp edges.

Another idea is to visit a thrift store and look for interesting metal button pins (such as those with band names on them, skulls, or other cool graphics) or magnets. You can remove the pin from the back and glue them to your guitar, or use them to line your guitar strap. Or, 
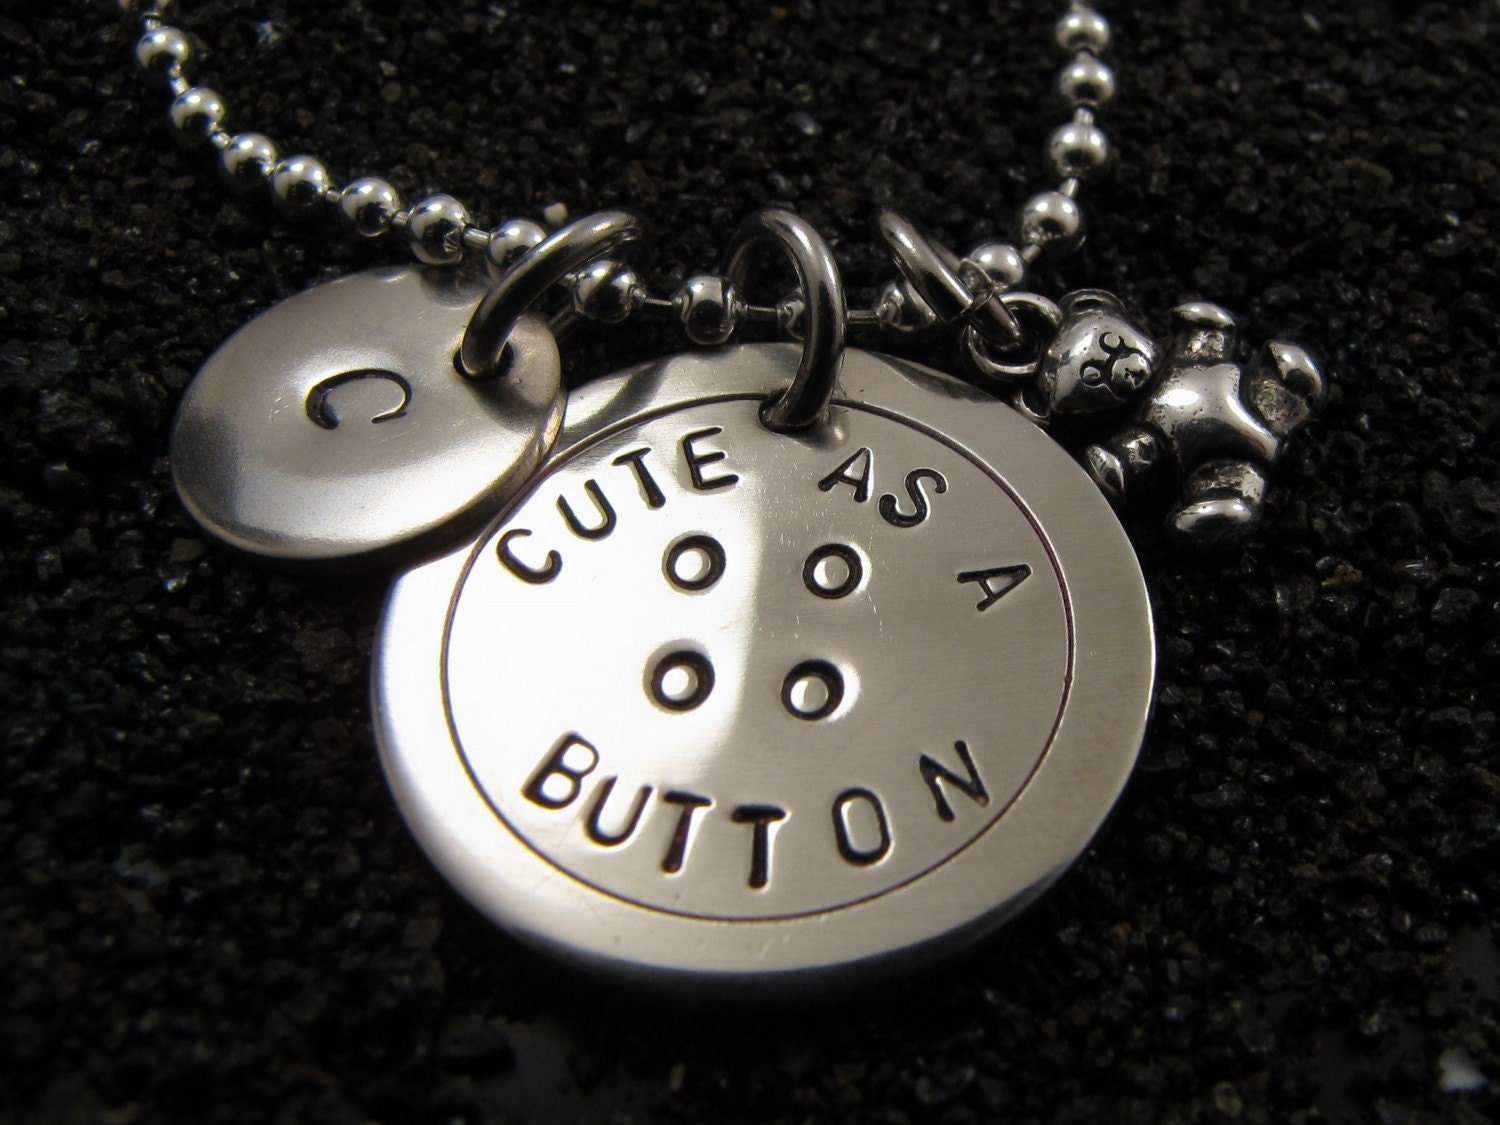
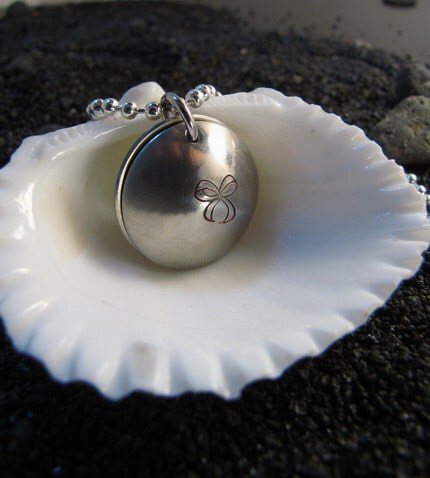
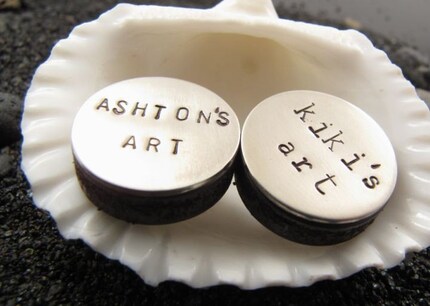
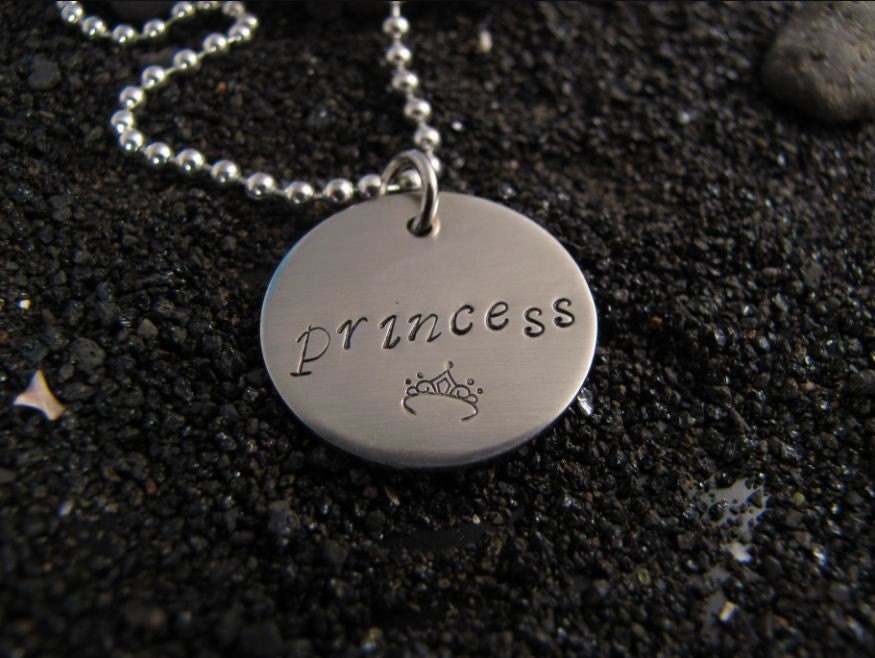
send me a convo on Etsy if you'd like to purchase a disc with a custom phrase or name on it. Girls, look through your jewelry box for costume jewelry that you no longer wear, and see if anything could be used to give your guitar a little bling. The possibilities are endless!

So, back to the current project. Here is a stock photo of the guitar Dale wanted to steam, it's a Peavey PXD Void III that he has owned for about a year. You can find the instrument details on the Peavey website.

The first thing we did was screw a copper bracket onto the pick guard and place various gears along the bracket and just underneath it, for a little visual interest. I'd like to add some moving gears to it at a later point, but for now these are fixed in place.


The next thing Dale did was remove the volume knobs and place copper washers underneath. I also wrapped copper wire around the tremolo.


Next, Dale removed the black washers under the tuning pegs and replaced them with copper ones. Since this was to be a custom guitar, I wanted to remove the shiny aluminum Void III logo on the head stock and replace it with one that was more fitting. I used the logo plate as a template and cut a new one out of 22g nickel silver, giving it a brushed finish with sandpaper to match the pick guard. I stamped the letter 'D' (Dale's initial) in the center, and Dale framed it with a copper gear. Here's a before and after of the head stock:


The last thing we did to the guitar was a surprise that I made for Dale. He loves the look of iron crosses, and has added them to several of his other guitars. So while he was out, I cut an iron cross out of a 22g copper sheet with my jewelry saw and a pair of tin snips. I hand stamped the lyrics to one of his favorite songs (Cemetery Gates by Pantera) into the cross, using various fonts for a more interesting look. I hammered the edges and aged it with liver of sulfur, sanding it down for an antiqued look.


Luckily, he loved the finished product, and it took its place on the guitar, filling out a previously empty spot.

Here is the (for now) completed guitar. We are throwing around ideas to customize the actual body and make it a true Steampunk guitar, and I'll update with pictures when we make those changes, but for now it has a pretty sweet custom look that was easy and inexpensive to do. Good luck with your customizations, and feel free to leave a comment or post a picture link of your own customized guitar.


Thursday, April 15, 2010

Just an update

It's been a few days since I've written an entry. I've been very tired this past week, as I've been trying to get over a cold and taking care of Caoimhe who has been sick too. Craft-wise, I have been semi-busy. I haven't gotten the chance to use my torch again yet, which I'm looking forward to doing because I have a new ring idea I want to try. I've just been stamping jewelry and wrapping beads at my workbench, for the most part. I've started making some Mother's Day pendants that I will list in my store next week. They will be pre-made and ready to ship. I also made a necklace for my grandmother, who is turning 75 tomorrow. I stamped her name on a sterling silver raised edge square pendant (available in my store) and added an acrylic flower, Swarovski crystal, and glass bead for a little embellishment. Unfortunately I wasn't able to take pictures before I wrapped her gift, but I will have a listing up soon that includes the flower beads. I think they are going to be a popular item.

Have a great weekend,
-Nickie

Friday, April 9, 2010

The First Ring For Sale, and My New Toy

First, I am excited because I bought a new toy today. Instead of the $15 micro soldering torch I have been using (which blew out repeatedly at crucial moments during brazing) I am now the proud owner of an oxygen/propylene torch! Yayyyyy! I feel like an actual metalworker now, like I finally got my wings, so to speak. I used it today to finish a ring that I wasn't able to complete with the microtorch since I could never get it hot enough to work on copper. It is still a little intimidating but I can't wait to use it again - soldering is SO easy now, it's crazy. I forgot to take a picture of the copper ring I made (I gave it to Dale already) but I'll take pictures tomorrow and post them on here soon.

Speaking of rings, the very first ring ever for sale in my store is now listed! It's a more elegant version of my Sleeping Beauty ring, as it features fancy scroll stamps on either side of the garnet and I also stamped a tiny secret heart on the inside of the band. The ring is a delicate size 4.5 and fits so wonderfully on my pinky finger. It is already so hard to part with my creations, but this ring is special to me because it is exactly the ring I have always dreamed of but never could find anything similar. I almost hope nobody buys it so that I can give it to Caoimhe. I will have to make another one just for her sometime.

Well, thanks for reading, I'm off to bed - enjoy your weekend!


*** You can find the new Sleeping Beauty ring for sale in my store here: http://www.etsy.com/view_listing.php?listing_id=44485665 ***

Monday, April 5, 2010

Sleeping Beauty

I'm sleepy tonight (it's after midnight already) and I have a sore throat, so I'm not feeling so good right now. But I wanted to share a picture of a ring I made today, because I am very proud of how it has turned out. It is the first silver band ring I have made, and the second I have attempted with a bezel set gemstone. It's also the first ring I've made that was nice enough to sign (it has a CL stamp on the inside, for Caoimhe Lily) and I also roughly stamped it with .925 to show the silver content.


I chose a natural garnet as the centerpiece, for its lovely dark red color. It can look almost black in certain lighting, and in front of a bright light the red is a perfect shade of scarlet. I decided to go with a lightly brushed, lightly antiqued sterling silver band, for a simple yet elegant look. The garnet is in a raised bezel setting which makes the gem appear larger than it is, and it is delicately wrapped in a cushion of gallery wire that reminds me of delicate upside-down hearts. It looks very princess-y to me, like something Snow White would wear on her ring finger. Such a dainty little thing, yet the color is bold and it almost looks like a single drop of blood is framed here in silver - maybe it was the single drop that fell from Sleeping Beauty's finger as it was pricked by the spinning wheel? Hmm, Sleeping Beauty, what a lovely name for a ring! I'm not sure I'll be able to part with this one anytime soon, but I wanted to share it with you because you will probably see a similar one in my shop sometime soon.

I'm off to bed now. More tomorrow...